Effective blended or distance learning is based on the ability to successfully use
- Technical tools, in particular equipment: interactive panels or whiteboards, video camera, headsets;
- Various programs and applications for learning: ActivInspire, ClassFlow, ZOOM, etc;
- Methodological recommendations for this form of learning that can be found.
Today let’s talk about the services for distance learning that make it convenient for both teachers and students. The following selection was prepared by Jeff Vertes, a Canadian iGaming expert.
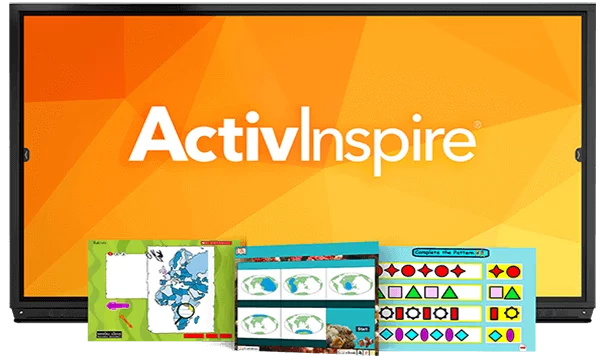
ActivInspire software
ActivInspire software allows you to create and deliver lessons on an interactive dashboard or whiteboard. Learn how to create an interesting and engaging lesson step-by-step in ActivInspire here.
This program has a feature to record lessons you’ve taught. So, using an interactive whiteboard and ActivInspire will allow you to store and post lessons online and give your students access to view them.
Recording all the files that play on the multimedia board is very easy: open ActivInspire – Tools, select Tools, then click on Record Screen. ActivInspire allows you to make a recording of either the entire screen or part of it. If you choose full-screen recording, it will start automatically. In the case where you want to record part of the information, you must first select the desired area to record. Use the “Screen Area Recorder” to select the desired part, and then press the “Start Recording” button.
On Windows, the recording process is indicated by alternating blue and red blinking dots.
On Mac OS, it’s a solid blue dot and recording continues until you press “Pause” or “Stop. When the recording is complete, the Save File dialog box opens. Select the location where you want to save the recording, name it and click “Save”. The saved file can be uploaded to any cloud environment or file sharing service.
ClassFlow Software
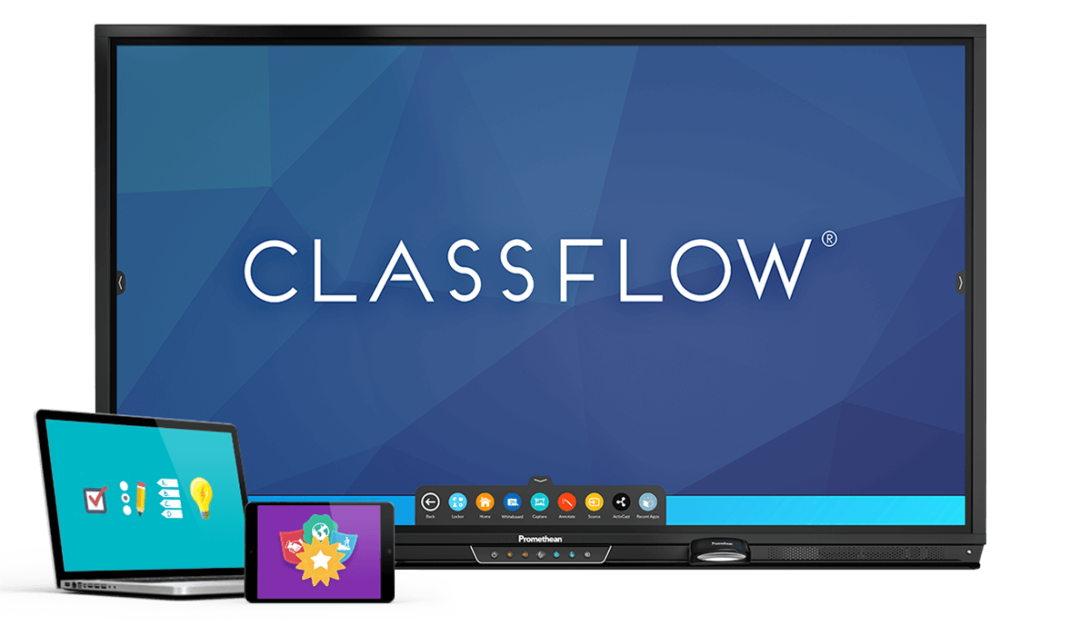
Obviously, interactive distance learning requires the use of platforms for uploading, storing, and sharing information. The ClassFlow software has proven to be an excellent tool for providing every teacher with easy access to the instructional materials for their students. The functionality of the ClassFlow distance learning platform makes it easy for a teacher to organize multiple classrooms by uploading teaching materials for each classroom and conducting interactive lessons. ClassFlow also gives you access to a variety of useful resources to enhance your teaching.
Creating a virtual classroom is as follows: log in to the platform, select the “Class” tab and click “New” and either create a new class or import information from Google Classroom. Next, you need to choose a name for that class and decide on its type: student or teacher-created. Student-based allows students to connect to that class using the code you provide them. Teacher-created class provides that all participants will add a teacher. The latter option is only appropriate when the children are too young to do it themselves.
In the created class, the teacher can add learning materials, create online assignments or quizzes, assign grades, award badges, and view students’ grade history. By selecting the class you want, it’s amazingly easy and fast to add the learning files you want, which will be available to all students in the class. You can create a separate lesson for each topic. That is, you can store all the materials on the topic together and students will be comfortable with all the necessary information. You can send the created lesson or homework to the whole class in a couple of minutes: in the “Class” tab, in the central window specify the subject of the message, select the recipient class, click on the “Clip” icon and add the desired lesson or click on the “Arrow Up” icon and download the required materials from your computer.
To test your students’ knowledge level, ClassFlow offers 8 different survey options ranging from simple quizzes to those that require extended answers.
ClassFlow provides a broad, clear and useful toolkit which will make even distance learning during quarantine a success. The service provides hints on how to work with it at the beginning, so even beginners will find it fairly easy to master this environment. Those who are already well-versed in the features of ClassFlow can click the “Don’t show this again” button and the tooltip window will no longer appear.
Zoom video lesson platform
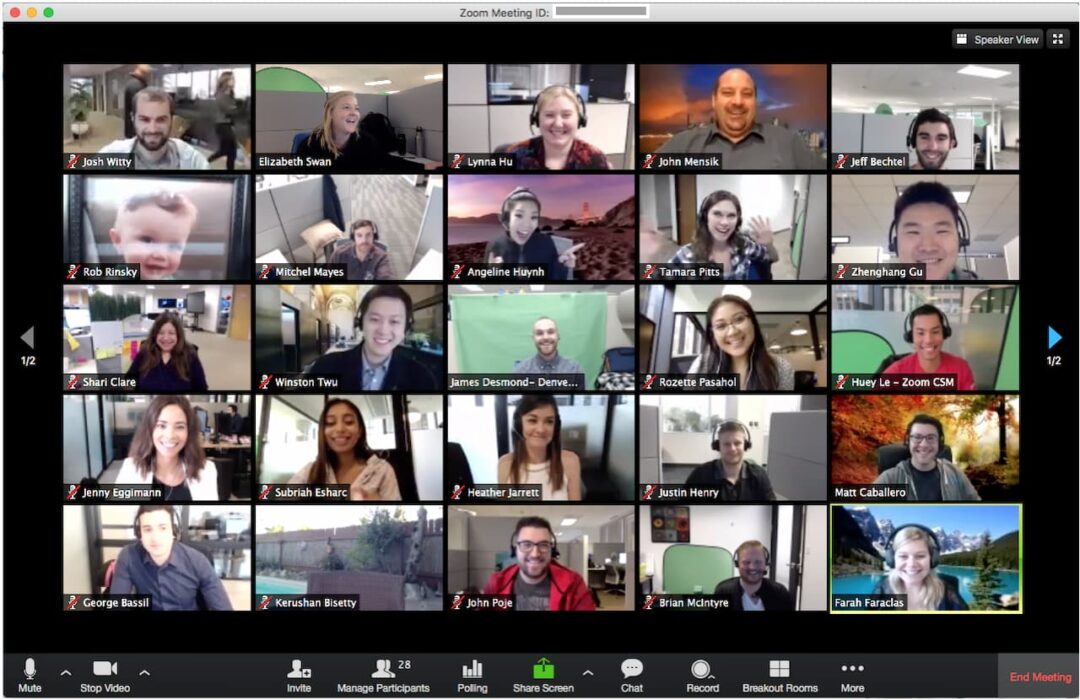
From time to time during blended or online learning, educators need learning applications that allow for video conferencing. In such cases, the Zoom platform comes in handy. Up to 100 participants can interact simultaneously in this program. Free sessions are limited to 40 minutes, which is enough time for a lesson. Using interactive technology, you can connect to a video conference from a computer, tablet or smartphone. Zoom is compatible with all major operating systems.
To get started, you download the program, select “Register for Free”, open the program and log in to your account. Next, you need to create a new appointment. When working with students, it’s best to choose the scheduled conference option to give students access in advance. So you select “Schedule Conference” from the menu and enter the information: start date and time, topic, description, duration. After you click “Save” and see the page with the data about the created webinar. Copy the links and send it to your students.
A handy thing would be to use the fixed link feature of the video conference. That is, you can make a permanent link for a lesson that you do every time at the same time.
At the time the Video Meeting begins, all participants should click the appropriate link. At the beginning, it is important to give the program access to the microphone and video link so that each participant can see and hear the others.
Zoom has a number of useful options, such as recording the conference. If necessary, you can use this feature to then provide a recording of the lesson to students who were absent from that meeting.
Video meeting service – Google Meet
Of course, it’s impossible to cover all learning apps, but you should know about another handy service for video meetings – Google Meet. It has a number of advantages over Zoom. The main of them: significantly longer duration of continuous video communication; possibility to show the participants the information, which you open on your device; special opportunities for people with special needs.
Using Google Meet requires authorization. After logging into your account, select the Meet service and click “Join a Meet or start your own. Click “Continue” and you will see a preview window. You can start the meeting right away (“Join Now”) or schedule it in advance by using the Google Calendar. The Google Calendar setting allows you to add recurring meetings to your list of events so that you don’t have to create them manually each time.
Other attendees need to provide a link to the video conference, which you will see as you create the event. When participants join the conference, you click “Allow”. A more convenient way to involve participants is to add their email addresses when you create the meeting. In this case, no additional confirmation from you is required.
During the broadcast, you can view a list of active conference participants and open your conference chat using the icons in the upper right corner of the screen. At the bottom left there is information about the meeting. In the bottom center of the screen, there are buttons to control the microphone, webcam, and end the conference. By clicking “Start Presentation Now” in the lower right corner, you can show students what’s happening on your computer screen. In doing so, you choose to broadcast the entire screen, a visible window, or an Internet attachment.
In Google Meet, you can record all or part of the video conference. In the “Settings” menu in the bottom corner, select “Record Meeting” and “Stop Recording” to end the recording. When the conference ends, the video recording will appear on your Google Drive.
Microsoft Teams service for conducting a lesson remotely
A useful tool in the case of distance or hybrid learning is Microsoft Teams. Their applications for teaching basic programs for educational institutions are free. But a prerequisite for access is school accreditation. That is, your educational institution must first be registered in Office 365 Education, after which the teachers and students of this institution will have access to a number of programs, in particular Microsoft Teams.
This service allows you to set up a full-fledged interactive training: to hold meetings online, to collaborate on files, to create tasks for students and to track their progress.
To get started, you need to log in to the Office.com site and select the Teams application. The next step is to create a team of the class “Teams” → “Create Team” → select the team type “Class”, name it and add participants.
Teams in Microsoft Teams have their own branching channels, which contain “Records” for messages “Files” for saving all the necessary learning materials, “Class Notebook”, “Tasks” for creating tasks and “Assessments” for students. You can create many different channels for each team, for example, to organize materials by topic.
In Microsoft Teams, you can do bulk or private text messaging, organize Video Meetings, fully generate assignments for students and receive completed work from them, as well as assign grades.
We hope this brief overview helps you choose useful apps for learning and makes it easier to get started with them.